


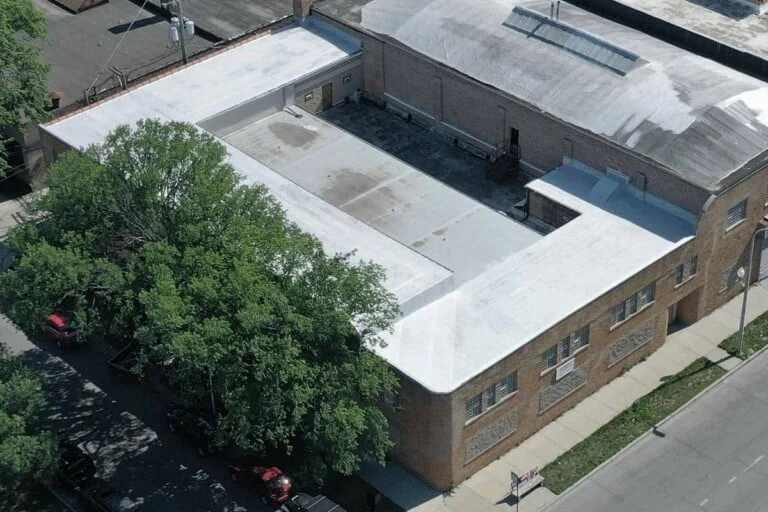
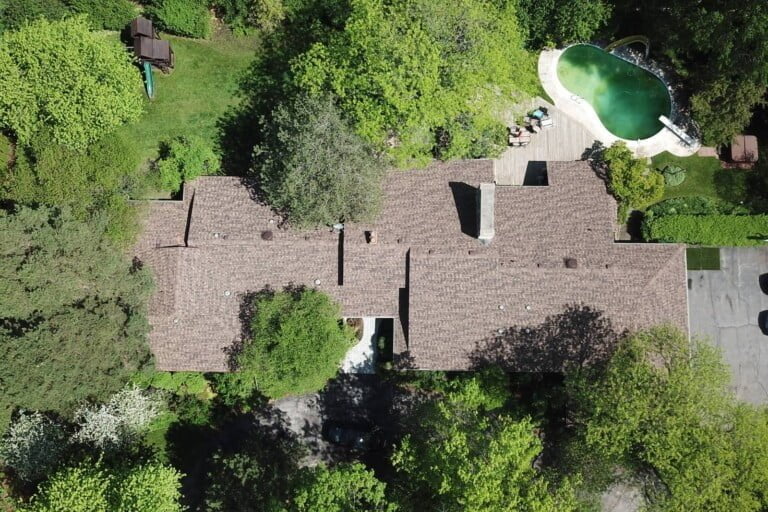
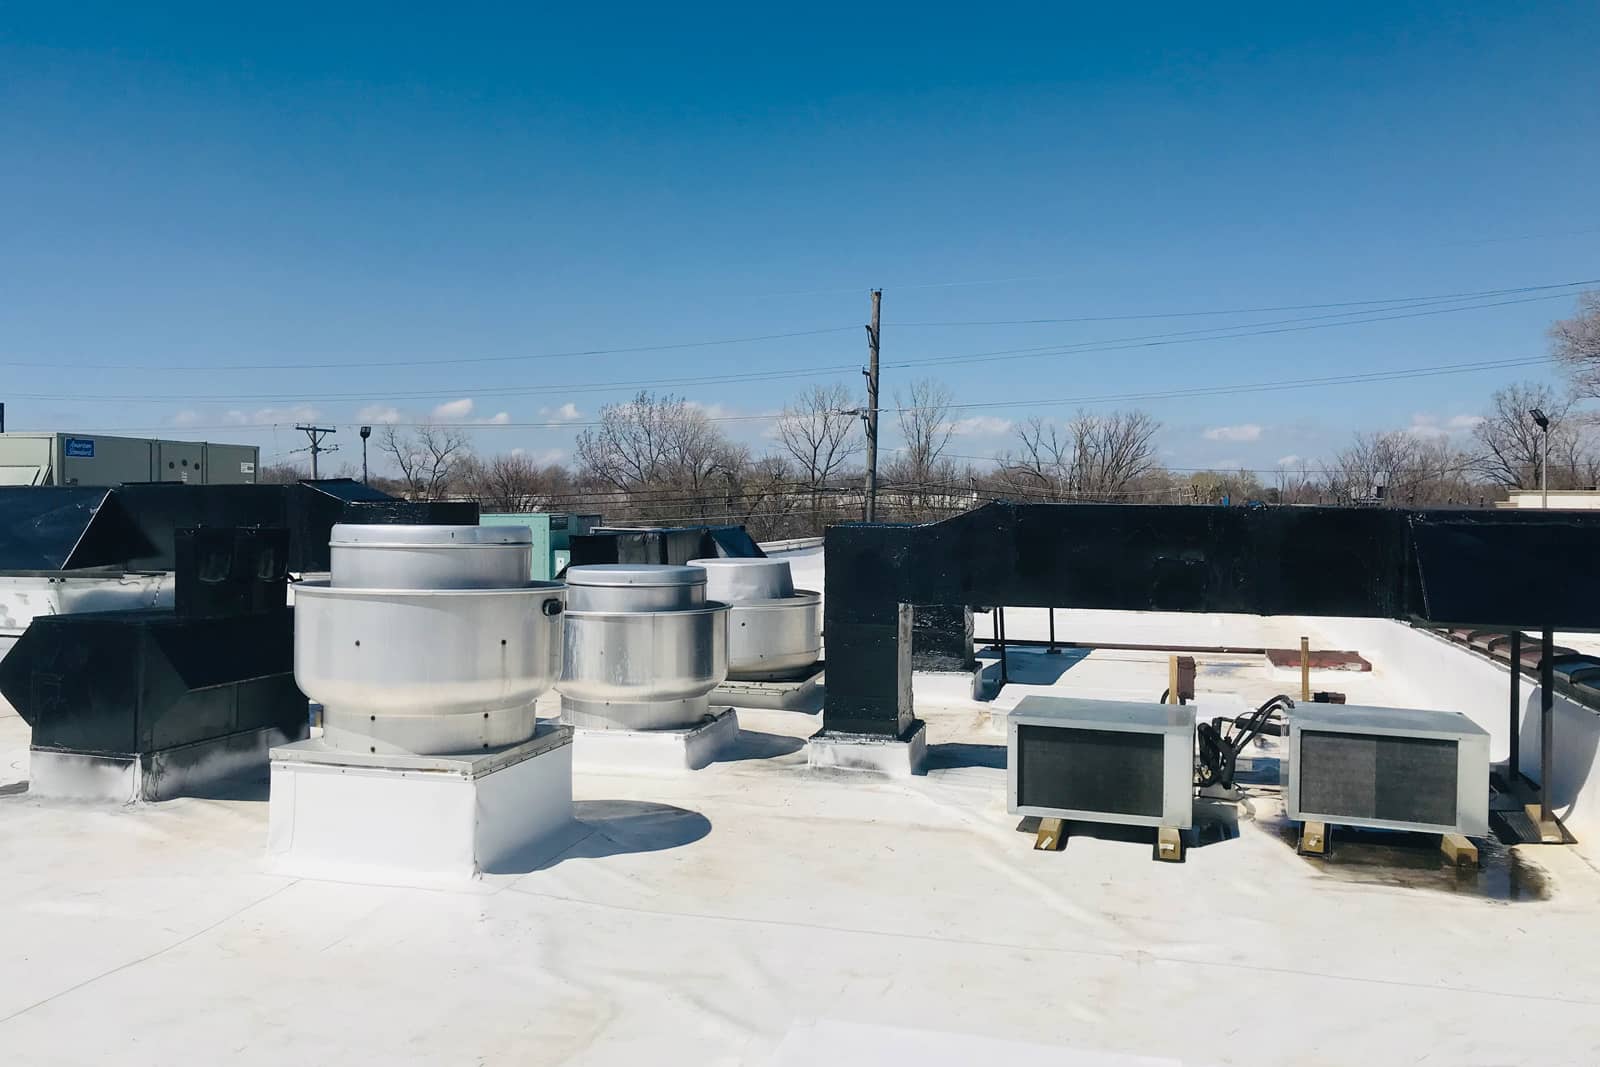
In this project our team teared off an Modified-Bitumen old roof system and completed a new TPO Roofing Membrane Installation. Below you can see the steps that we followed.
TPO Roofing Membrane Installation:
- Remove the old TPO roofing membrane: We began by removing the old modified-bitumen roofing membrane. First, we removed any loose debris from the surface and then used specialized tools to carefully lift and remove the old membrane. We took care to remove the old membrane in a way that minimized damage to the underlying roof structure.
- Inspect the surface for damage: Completed the removal of the old membrane, we inspected the surface for any damage or defects that needed to be repaired before the new membrane could be installed. This included looking for cracks, holes, or other damage that could compromise the integrity of the new TPO membrane.
- Prepare the surface for the new TPO membrane: Next, we prepared the surface for the new TPO membrane. We thoroughly cleaned the surface, removing any debris, dirt, or other materials that could interfere with the installation. We also made sure that the surface was completely dry, using fans or other tools if necessary to speed up the drying process.
- Lay down the insulation layer: With the surface cleaned and prepared, we laid down the insulation layer. This involved carefully measuring and cutting the insulation to fit the surface, then fastening it securely to the surface. We took care to ensure that the insulation layer was completely flat and level, with no bumps or wrinkles that could interfere with the installation of the TPO membrane.
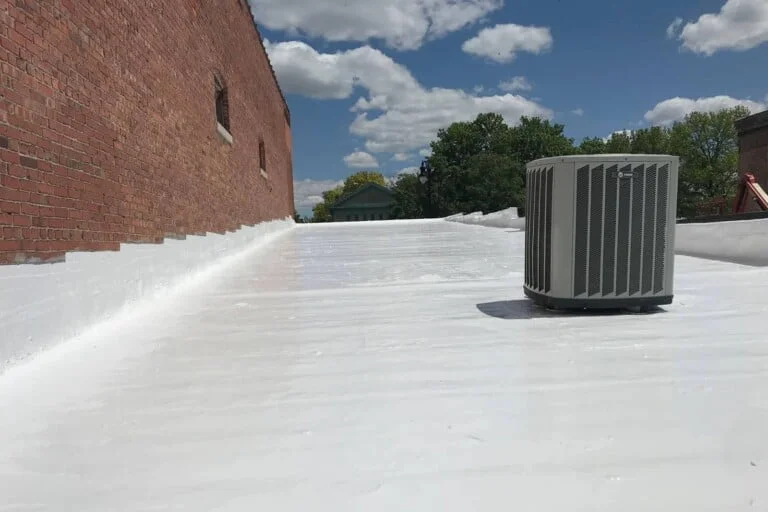
- Unroll the TPO membrane: Once the insulation layer was in place, we began to unroll the TPO membrane. This involved carefully positioning the membrane on the surface. We took care to ensure that the membrane was completely flat and level, with no bumps or wrinkles that could interfere with the installation.
- TPO Roofing Membrane Installation: With the TPO membrane unrolled, we began the installation process. We used specialized tools to overlap the seams, then used a hot-air welding tool to bond the seams together. This process ensured that the TPO membrane was completely watertight and able to withstand the elements.
- Install flashing around the edges of the roof: With the TPO membrane installed, we installed flashing around the edges of the roof. This involved carefully measuring and cutting the flashing to fit the contours of the roof, then fastening it securely in place. Secondly, the flashing provided an additional layer of protection against water and other elements.
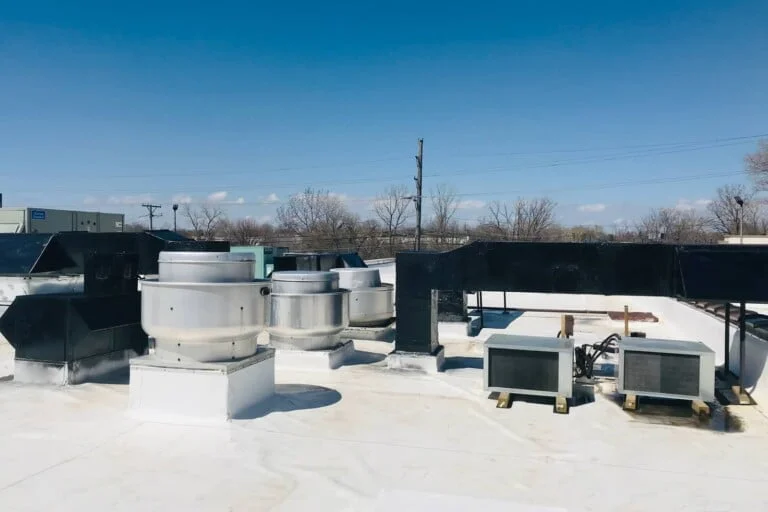
- Inspect the roof: Finally, we inspected the entire roof to make sure that the TPO membrane had been installed correctly. There were no leaks or other issues. We checked for any signs of damage. That included cracks, holes, or other issues that could compromise the integrity of the new TPO membrane. Once installation was complete we were satisfied, we cleaned up the site and ensured that all tools and equipment were properly stored.
It’s important to note that the exact steps involved in a TPO roof installation can vary depending on the specific roof and local regulations or building codes. Your Installation efectiveness can be consulted with our team.
Check out when it is the best to apply TPO to your roof. Forbes Home explains it in detail here. Our team also has great experience with Aluminium Coating, Coating, EPDM and Mod-bit . See the projects we have completed under those roofing systems too. Request an estimate and Partner up with Slog Group!
Another special Slog Group treat is our labor cashback system! Learn more about it in our dedicated page for Business Owners and General Contractors. You don’t want to miss out on this. Hire our team and get several benefits!

